Slip Saddle Taps
ATS Slip Saddle Tap™ Installation
ATS Part Type #43
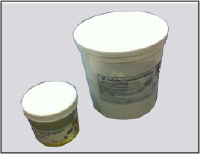
ChemBond Putty Kit
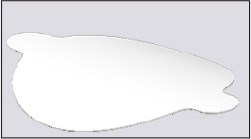
Slip Tap Pattern
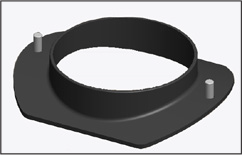
Slip Tap Collar
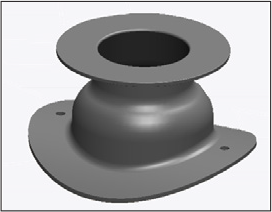
Slip Tap
Hex Nut
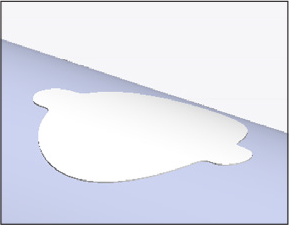
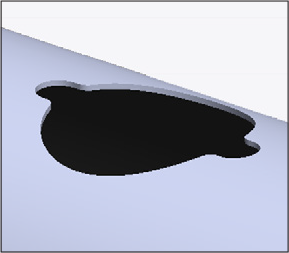
1. Place the pattern into the desired position and mark the cut line on the duct around the outside perimeter of the pattern. Then cut the main duct along the cut mark and remove the cut-out plate.
2. Begin by mixing Part B Hardener into Part A Putty. Be sure to mix thoroughly for 1 to 2 minutes.3. Apply putty mix to the top of the collar flange face.
4. Slide the puttied collar into the duct with the flange face cut sides entering through the cut-out notches.
5. Pull the slip collar up through the duct, so the bolts are aligned in the center of the notches and the puttied flange face presses into the inner duct surface.
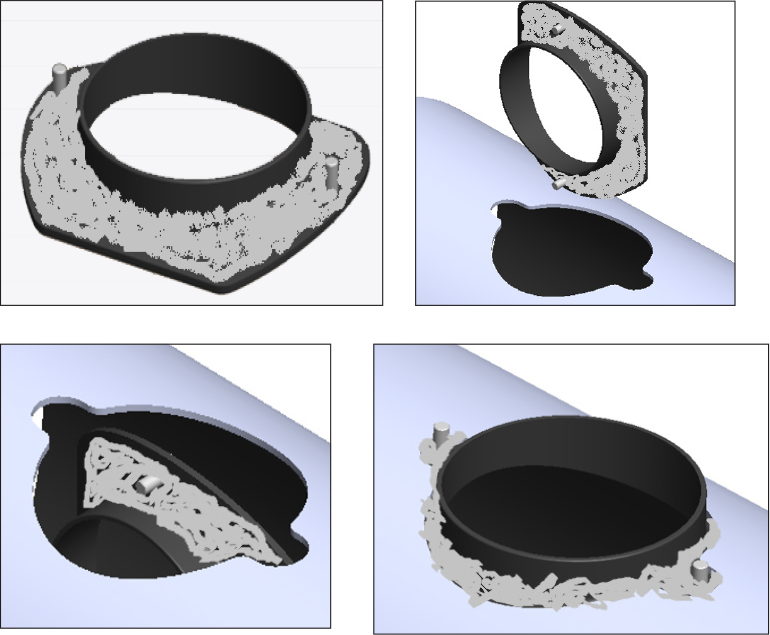

6. Apply putty mix to the underside surface of the Slip Tap saddle and on the inside of the Slip Tap to the depth of the slip collar penetrating the duct.7. Position the Slip Tap so the holes in the saddle line up with the bolts penetrating the duct through the notches.
8. Press the Slip Tap into position on the duct with the bolts pen- etrating through the holes in the saddle. Place the hex nuts onto the bolts and tighten saddle securely to the main duct. Clean up excess putty inside and outside of the tap connection.